Brosix allows you to set custom settings for your team network. In order to do so please follow these instructions. You will also find short descriptions of each of the options below:
- Log into the control panel at net.brosix.com
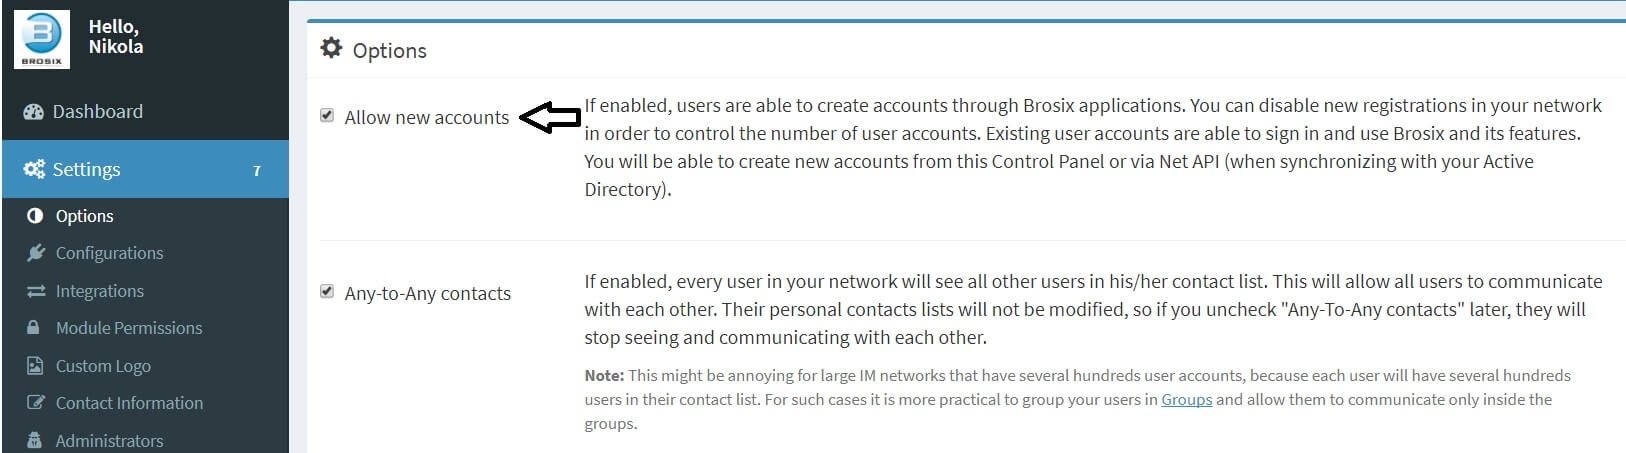
- From the Dashboard choose Settings ->Options
- Choose from these listed options (you can tick any number of them):
- Allow new accounts – when enabled, new users will be able to create accounts for themselves. This way they will join your team network and begin communicating with other users directly.
- Any-to-any – when enabled, all users will be able to communicate between themselves on your team network. Upon adding a new user account to your team network they will be immediately visible in all other users’ contact lists.
- Allow Edit contacts – when enabled, users on your network will be able to manage their contact lists by adding and deleting contacts at any time.
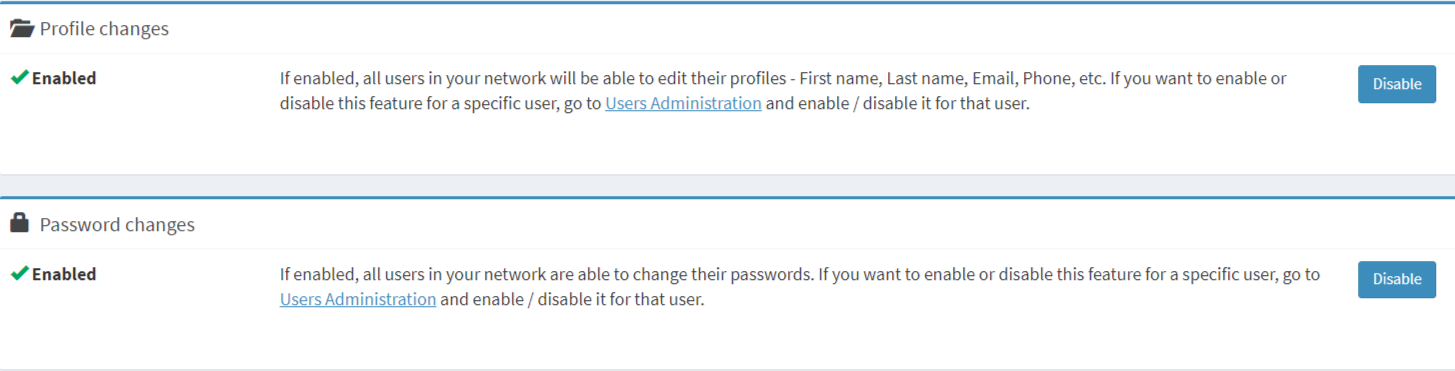
You can also enable users to change their profiles and passwords.
In order to do that follow these steps:
- Log into the control panel at net.brosix.com
- From the Dashboard choose Settings->Options
From here you can enable and disable user profile and password changes at any time.
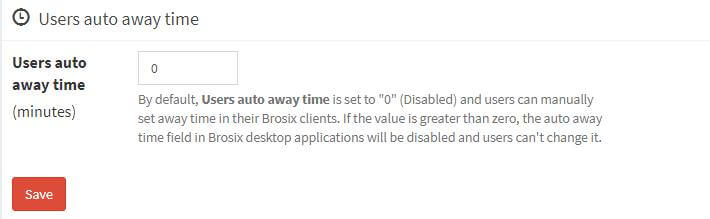
Brosix also allows you to set users’ auto away time. In order to do so please follow these instructions:
- Log into the Control Panel at net.brosix.com
- From the Dashboard choose Settings-> Configuration
- Select the “Auto away time” option and set the desired period of time (in minutes). When you are ready click the “Save” button./li>
You can also set the “Auto Start” option for the Brosix application for all users that use Windows OS. In order to do so follow these steps:
- Log into the Control Panel at net.brosix.com
- From the Dashboard choose Settings->Configurations
- Choose the “Auto start” section and click the “Enable” button
