The Virtual Whiteboard feature allows you to create an online visual collaboration space that you can share with one or more contacts. This allows you to share and create pictures and drawings in real time.
You can begin a whiteboard session by clicking on the “Whiteboard” icon in the contact list after selecting one or more online contacts, in a chat window, in a chat room window, through the “Actions” menu, or to an entire group if you are using the “compact” or “extended” contact list view in Brosix 4.0.

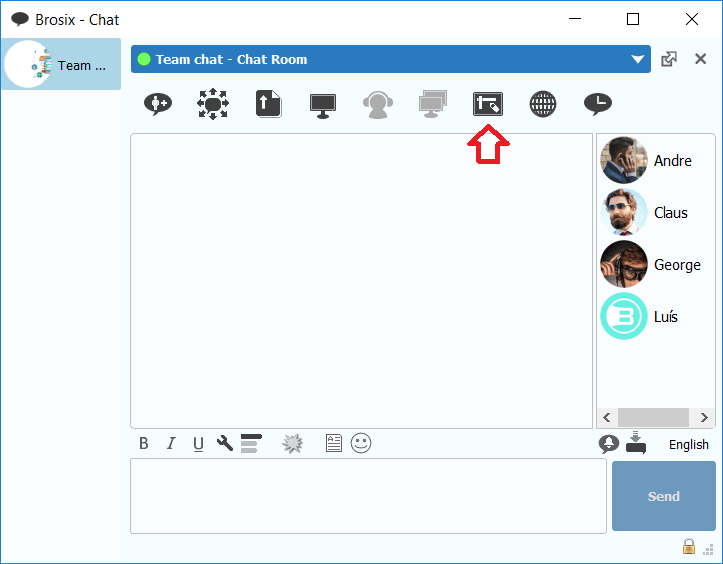
Starting a Whiteboard Session through the Contact List, Chat Window or Chat Room Window
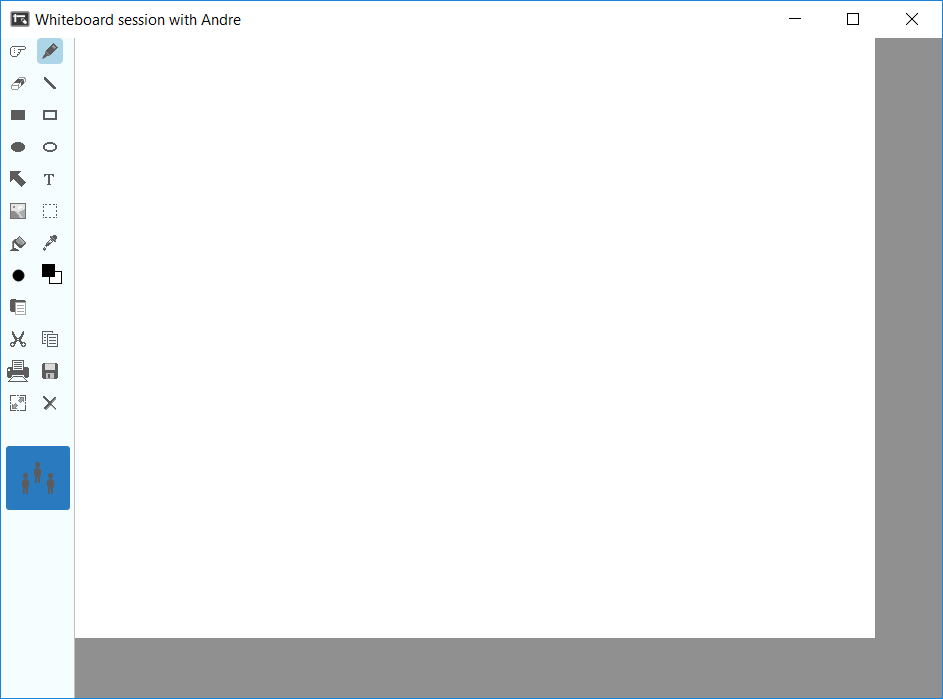
Once you have clicked the “Whiteboard” icon in one of these locations, the “Whiteboard Session” window will launch, as shown below.
Please note that when by beginning a whiteboard session through a chat room window or by selecting a group, the session will include all members of the chat room or group.
In this window you and your invited contact(s) can create visuals through the different options in the panel on the left side of the screen. From this panel you have the option to draw, insert shapes, insert external pictures, add text, and invite more contacts to the session. You can also save the whiteboard or print the screen by clicking on the “Save” and “Print” icons, respectively.
In order to end the session, simply close the window.
Starting a Whiteboard Session through the “Actions” Menu
To begin a whiteboard session through the “Actions” menu, begin by selecting the contact from the contact list that you would like to hold the session with. After selecting the contact, click on the “Actions” menu and select the “Whiteboard” option. The “Whiteboard Session” window will now launch and you can follow the steps above.