Network Connections enables you to connect your Team Instant Messaging Network to another Brosix Network. You can access the Network Connections feature from the Connections tab found on your Web Control Panel.
Request to Connect to Another Team Network
To request to connect to another Instant Messaging Network, you will need to access the Connections page.
From your Web Control Panel, click Settings. The Network Connections feature is found by navigating to the Connections tab at the bottom. This is where you control connections between your Instant Messaging Network and other Brosix Networks.
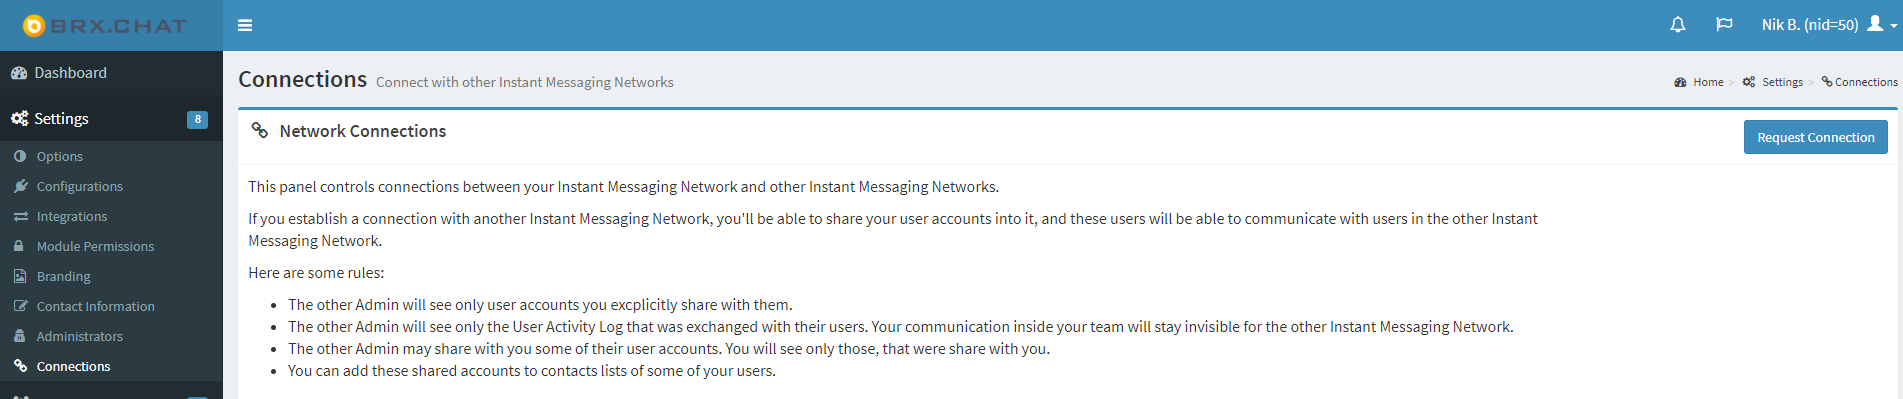
Once on the Connections page, click the blue Request Connection button located in the top right corner of the page.
Send a Request to Connect
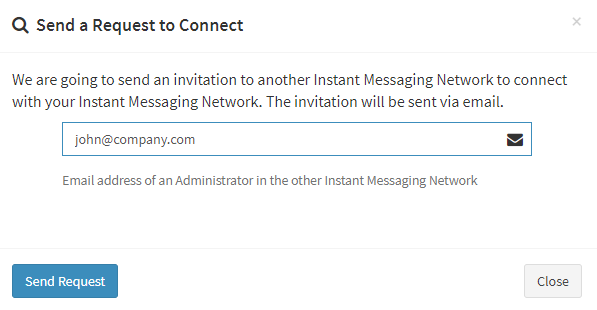
Invitations to connect to another Instant Messaging Network are sent by email. Once you click Request Connection, you will need to provide the email address of the administrator of the network with which you want to connect. Enter the email address in the box. Click Send Request.
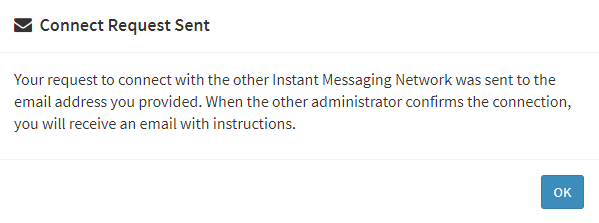
You will receive a notification informing you that your request to connect has been sent and is awaiting confirmation from the other administrator. Click OK.
Confirming a Request to Connect to Another Team Network
When you request to connect to another Brosix Network, the other network administrator will receive an email informing them that your Instant Messaging Network wants to connect and share users.
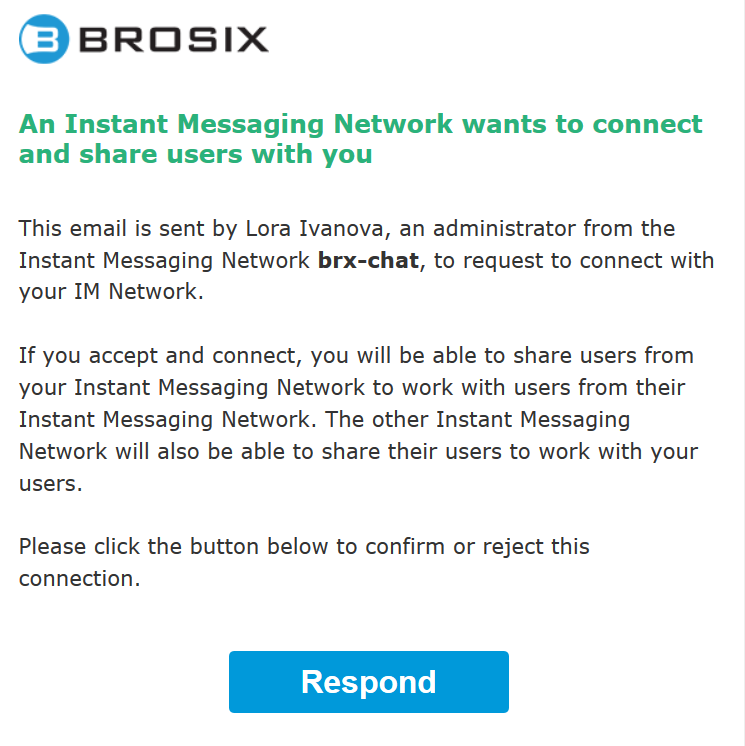
In the email, the other network administrator must click the link labeled Respond in order to confirm or reject the connection request. This will redirect them to their Web Control Panel, where the option will be given to accept or reject the request to connect to your Instant Messaging Network. The other network administrator must click Accept in order to establish a network connection.

Once the request to connect has been accepted, they will see their Confirmed Connections.

Confirmed Connections
This is a list of the Instant Messaging Networks that you have confirmed to connect to, but have yet to be confirmed by the other network administrator.

Here you have the option to withdraw connection requests. To withdraw a connection request, click Withdraw next to the network with which you wish to withdraw the connection request.
When the other network administrator has accepted your connection request, you will receive an email with instructions on confirmation.
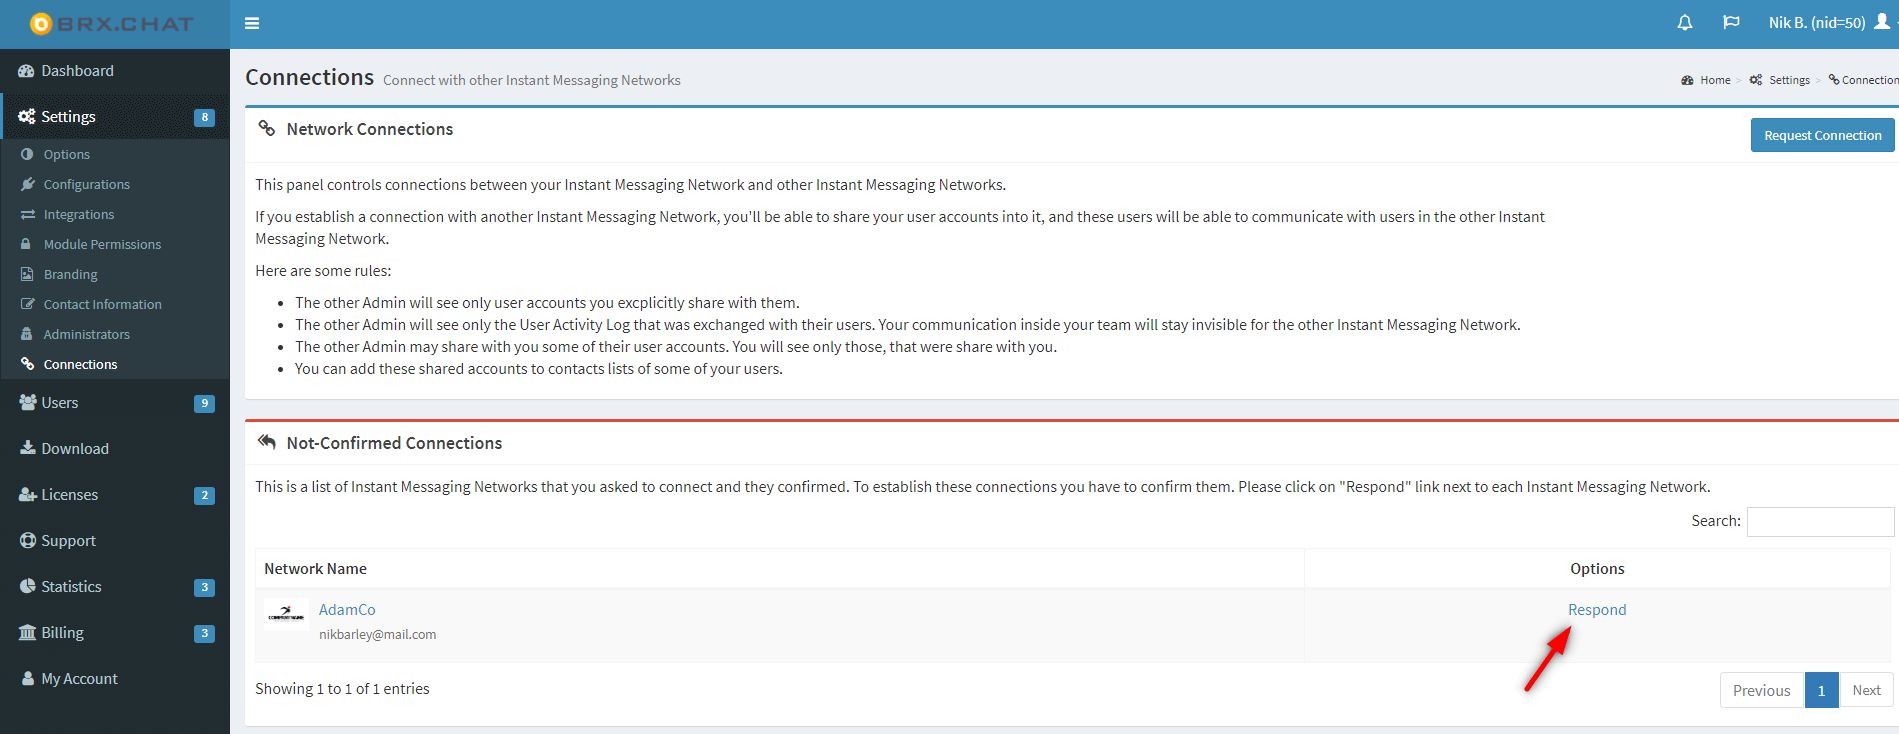
Unconfirmed Connections
This is a list of the Instant Messaging Networks to which you have requested to connect and have been confirmed by the other network administrator, but have not yet been reconfirmed by you. To establish a network connection, you must reconfirm your request. To reconfirm, click Respond next to the network to which you wish to connect.
You will then be asked whether you want to connect with this Instant Messaging Network. To connect, click Connect.

You will receive a message informing you that you have been connected to the other Instant Messaging Network. Click OK.
Both you and the other network administrator will now see your Active Connections. From here you can begin sharing users and collaborating between each other.
Active Connections
This is a list of the Instant Messaging Networks that you are connected to. Here, you can share your users with the other network, or end the network connection.
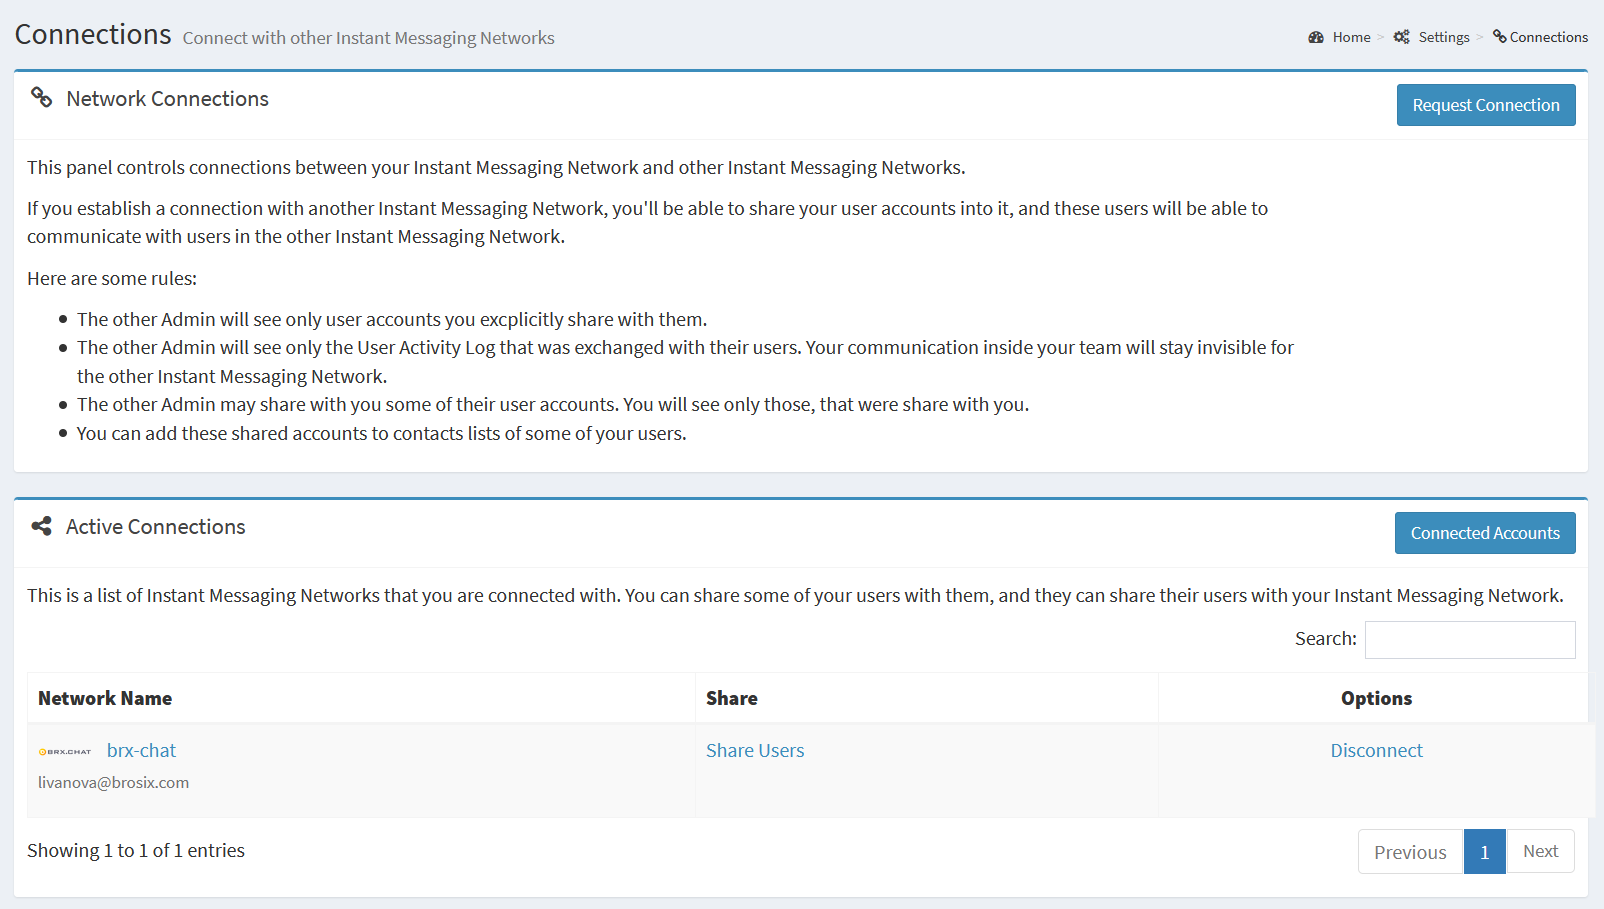
To share users, click Share Users next to the network to which you wish to share users. To end the network connection, click Disconnect next to the network to which you wish to disconnect.
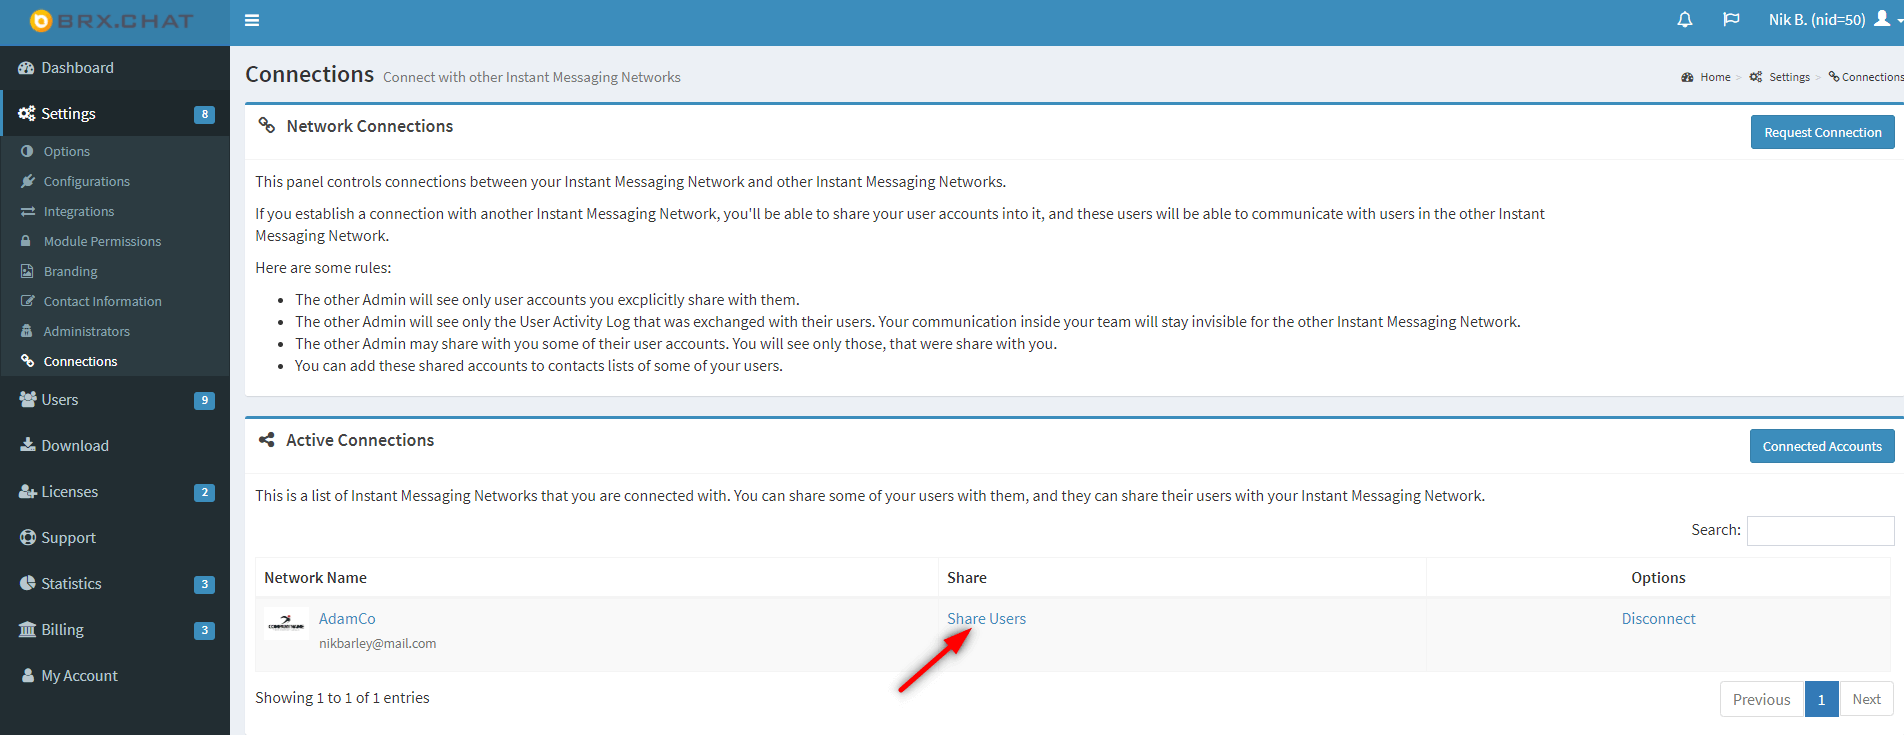
Sharing Users and Removing Shared Users
To share users to another Instant Messaging Network, under your Active Connections, click Share Users next to the network to which you wish to share users.
Here, you will see a list of your users not currently shared to the other network. To share a user, click add next to the name of the user you wish to share. You also have the option to share at once all of your users to the other network. To share all of your users, click Add All at the top right corner of the page.
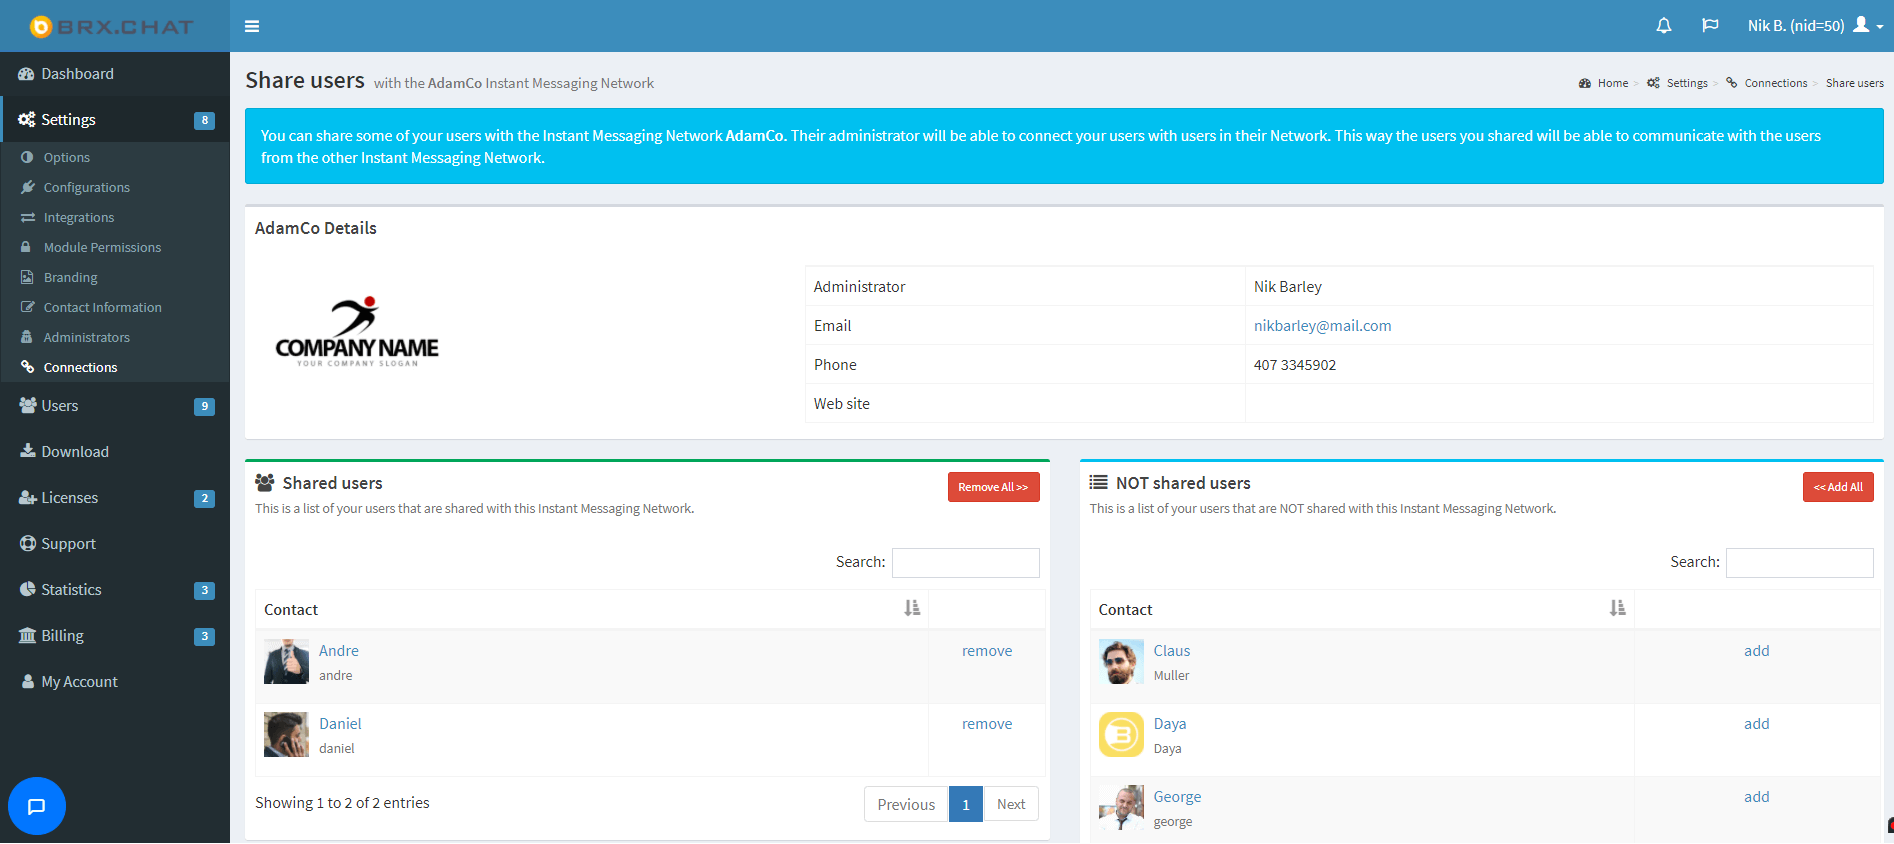
The user(s) will then appear on the left side of the page as shared users. To remove a user, click remove next to the name of the user you wish to remove. To remove all users at once, click Remove All.
Users will then see each other on their respective contact lists, and have the ability to communicate between each other.
Security
Network Connections employs the same industry-leading attention to data security and privacy that Brosix applies to all its features. When connected to another network, Admins see only information that has been explicitly shared with them, namely shared users and chat histories between shared users from both networks. Communication inside your Brosix Team Network remains wholly private while users shared to other networks, including user-specific permissions, remain under your full control.
Learn more about Network Connections